
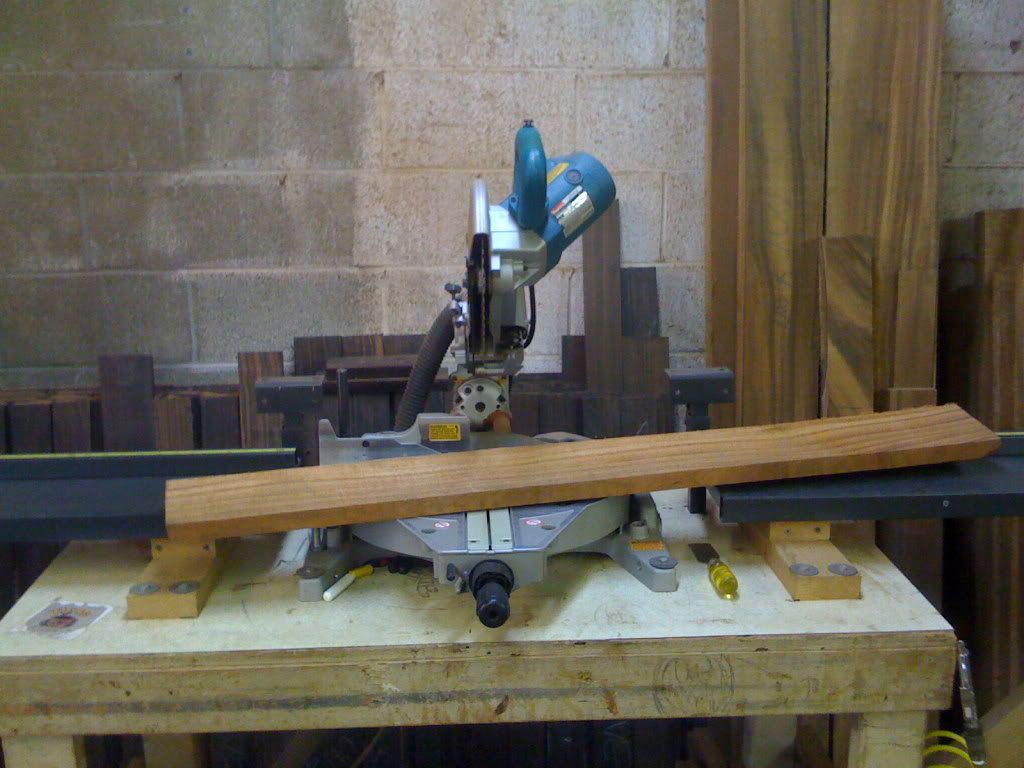
Here we have an ordinary plank of koa. Unless you love wood, pretty boring, huh? I do have the saw in the back drop for ambiance, but how exciting can a piece of wood be? Well, good thing you asked. Before we can even start to work with the lumber, we need to dry it. Almost all of our lumber is bought green, which is a wood working term for freshly milled lumber. The relative moisture content can be anywhere from 40-100%, and anything over 12% is not workable. There are two ways to dry lumber. Air dry, or kiln dry. There are pros and cons to each, but I won't go into great detail for now. In short, air drying takes longer and kiln drying is faster. We are primarily a production shop, so the faster method best suits our schedule. Even in a kiln, 4/4"(or 1") koa takes about 6 weeks to dry. I fast forwarded the process and pictured is a dried, ready to grade board of koa.
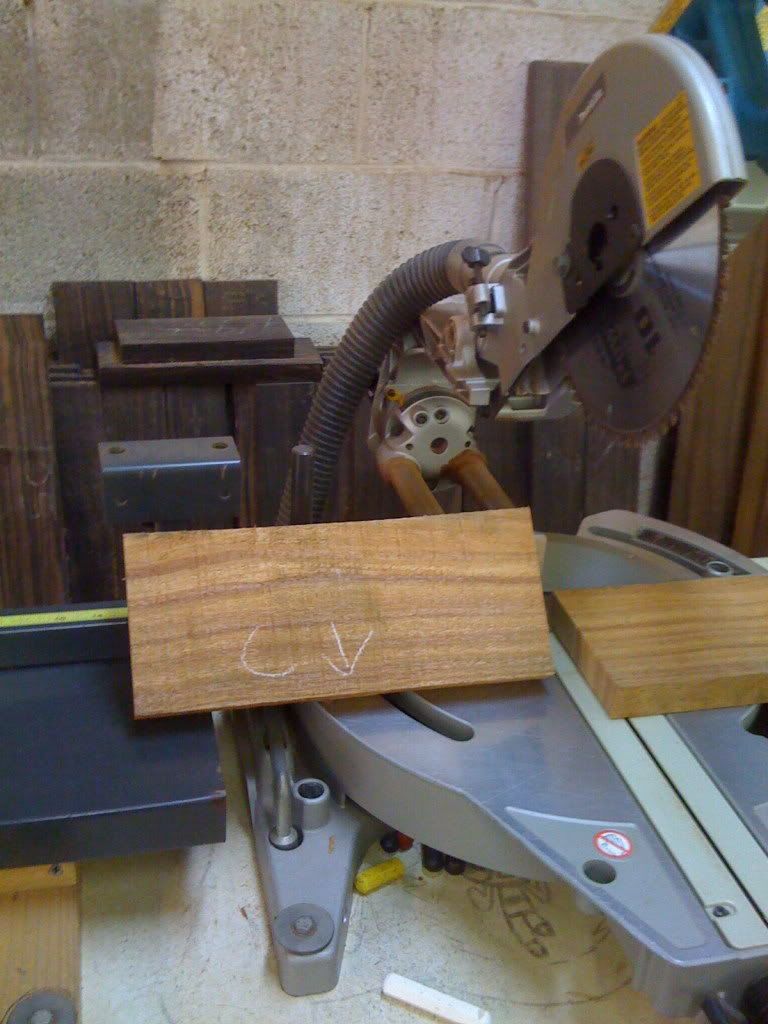
Next, we come to my main job, which is grading and selecting the part of the ukulele, from the raw lumber. Koa is a very diverse tree, in terms of grain density, grain pattern, and color. While this makes selecting consistent sounding boards a little more difficult, it keeps my day interesting. Half of lumber grading is objective, using the forementioned qualities to predetermine what the uke will look and sound like. However, wood is a natural medium and there are always surprises. That is where the feel aspect comes in. There is no way to really qualify exactly what it means to feel it, so I will say that nothing short of experience will help you to do so. This particular billet will become a book matched face, or top for a concert sized ukulele. The directional arrow is to help me keep track of what side to reference off of.
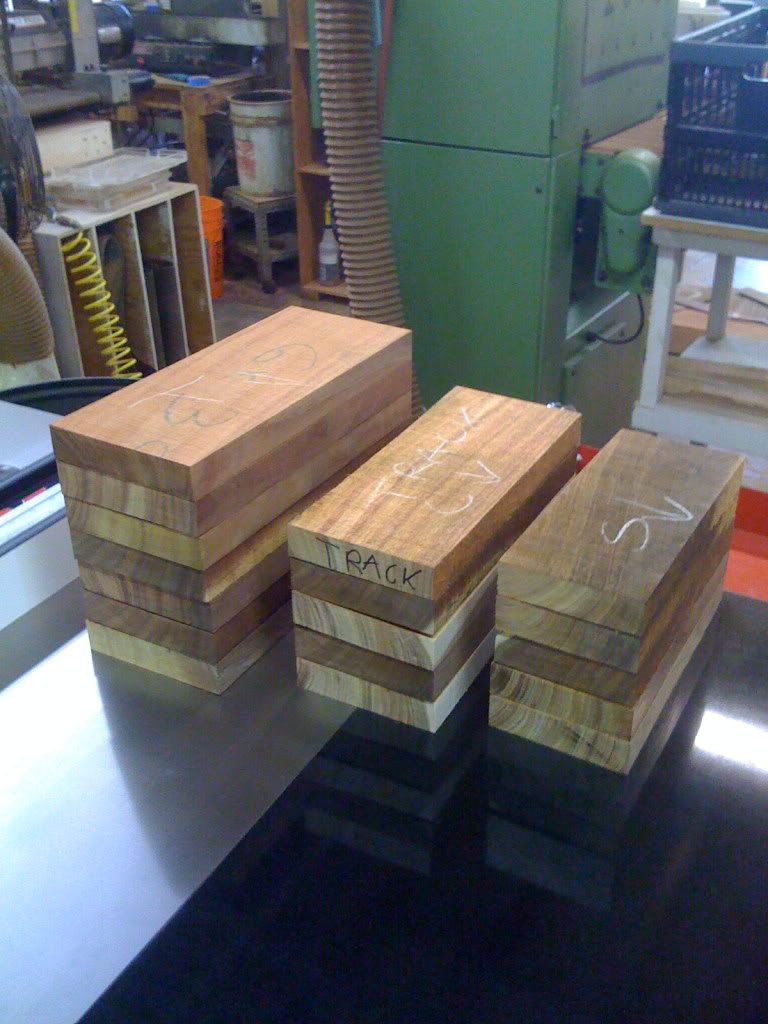 In this picture, the rough sawn billet is awaiting pre-dimensioning on my tablesaw. When a tree is alive, it moves water from it's roots to leaves, to stay alive. Because of this, wood very easily absorbs and releases moisture to the air. This constant process of absorbtion and release is what is called wood movement. Nothing can stop it, short of encasing the wood in a block of resin. As a result, anything made of wood will always be in the process of contracting or expanding. The pre-dimensioning, takes the billets to a uniform size, which makes it easier to keep track of the individual part, as well as minimize sawing and sanding time. However, there is enough over size to account for the wood's movement, as we continue through the milling stages.
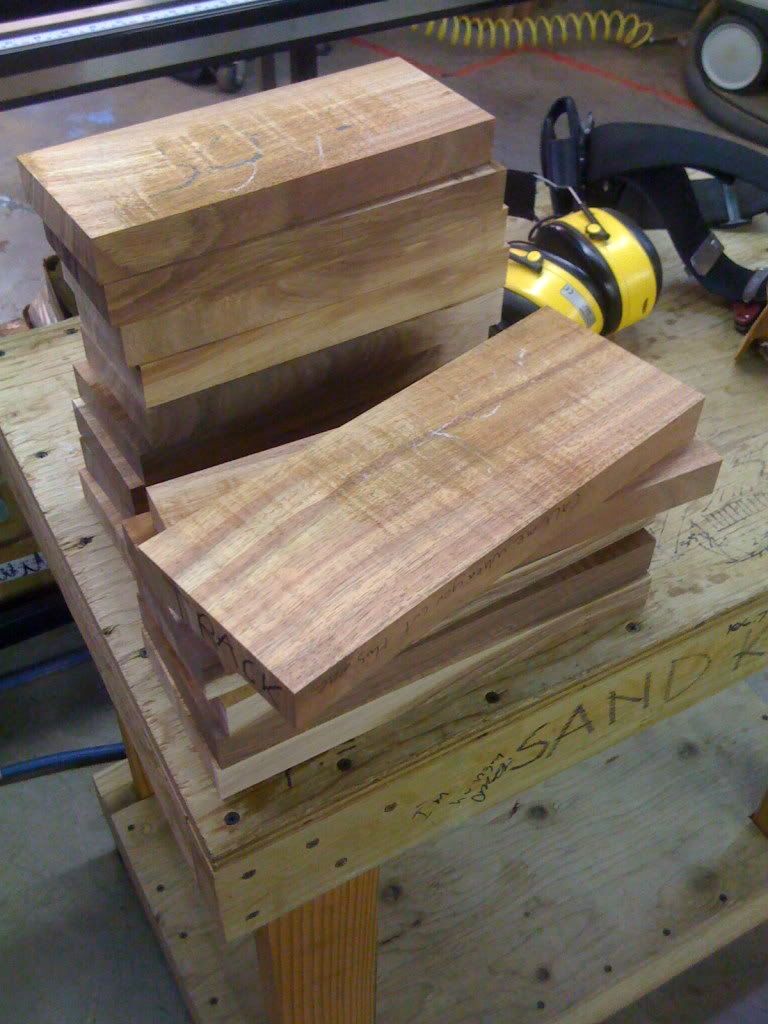
The last picture is the concert face billet, pre-dimensioned, surfaced, and jointed. Before we can start to resaw, the wood needs to have one large surface flat, as well as the two adjoining lengthwise edges. Flattening the wide face is called surfacing, or facing, while trimming the edges is called jointing. Both processes are done on a jointer.
Well, that's it for today. The next installment will feature our newest employee, Dustin. He's the new guy, so he resaws and sands a lot. When he's done with that, he resaws and sands some more. Once in a while we let him eat and sleep, but not until he's done resawing and sanding.


